How to Boot a Windows System from USB for Recovery
- 1. Preparation: Getting the Right Tools
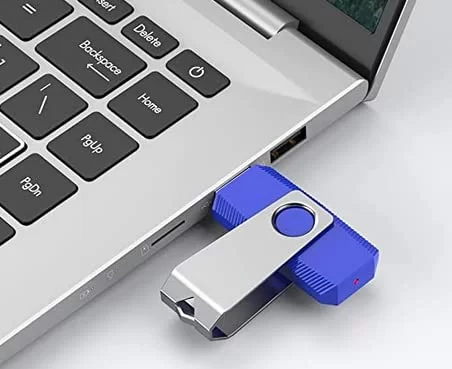
- 2. Creating a Bootable USB Drive
- 3. The Boot Process: Configuring BIOS and Booting from USB
- 4. Troubleshooting: What to Do if It Doesn’t Work
- 5. Recommended Tools for Efficient Recovery
1. Preparation: Getting the Right Tools
Before you dive into the steps of booting your Windows system from a USB, it’s important to gather all the necessary tools. You’ll need a USB drive with at least 8GB of storage, a second working computer, and a stable internet connection to download the required recovery files. It's essential to have your Windows installation media or recovery tool on hand. Make sure your system is updated to avoid running into any compatibility issues during the recovery process.
I remember the first time I had to boot from USB. I was troubleshooting an older laptop, and I didn't realize that I would need a recovery drive. I had to scramble to find one, and it delayed the process. Having everything prepared ahead of time is the key to a smooth recovery.

Secure Data Recovery Services
524 W Laurel St #2, Fort Collins, CO 80521, USA
2. Creating a Bootable USB Drive
Creating a bootable USB drive is the next step. You can use Microsoft's Media Creation Tool to download the Windows ISO file and transfer it to your USB drive. Simply plug in your USB, download the tool, and follow the instructions to create a bootable USB. Alternatively, you can use third-party tools like Rufus for a more customized approach.
Once the USB is ready, test it on another machine to make sure it’s working properly. You don’t want to waste time later trying to figure out why your computer isn’t booting from the USB. This process is critical, as the USB will act as your lifeline in recovering your Windows system.
DataTech Labs Data Recovery
8000 E Quincy Ave #300, Denver, CO 80237, USA
3. The Boot Process: Configuring BIOS and Booting from USB
Now, let’s move on to the actual process of booting your system from the USB. The first step is to configure your BIOS settings. Restart your computer and immediately press the BIOS access key (usually F2, F12, or DEL). Once in the BIOS menu, navigate to the Boot tab and select the USB drive as the primary boot device.
After making this change, save and exit the BIOS. Your system will now attempt to boot from the USB drive. If everything is configured correctly, you’ll see the Windows recovery screen. From here, you can select options like system repair, restoring from a backup, or reinstalling Windows.
In my case, I had to troubleshoot a laptop with a corrupted system file. Once I set the USB as the primary boot option and booted into recovery mode, I was able to restore the system in under an hour. It’s a lifesaver when you can’t access your operating system in any other way.
4. Troubleshooting: What to Do if It Doesn’t Work
If the USB isn’t booting, don’t panic. Double-check that the USB drive is correctly inserted and the BIOS settings are properly configured. If you're still having issues, here are a few things to try:
- Ensure the USB is formatted as FAT32 or NTFS.
- Re-create the bootable USB using different tools like Rufus or the Media Creation Tool.
- Make sure your computer’s boot mode is set to UEFI or Legacy, depending on the type of system you have.
- Test the USB on another computer to confirm the issue isn't with the drive itself.
One time, I encountered a problem with the boot order in BIOS. It turned out that the USB wasn’t recognized because I missed an important step. After revisiting the settings and restarting the process, everything worked perfectly. Sometimes the smallest mistake can throw you off, so take it slow and double-check each step.
5. Recommended Tools for Efficient Recovery
While booting from a USB for recovery is a reliable method, having the right tools will ensure the process goes smoothly. If you’re looking to streamline your recovery experience, here are some tools I highly recommend:
- Rufus – A powerful tool for creating bootable USB drives with advanced options.
- Windows Media Creation Tool – Microsoft’s official tool to download and create a Windows installation or recovery drive.
- Acronis True Image – For creating system backups that can be easily restored from a bootable USB drive.
- Ninja Stik – A tool designed to enhance system recovery by allowing seamless boot options and more.
I personally use Acronis for system backups, and it’s saved me more than once when I’ve needed to restore a corrupted system. For a more streamlined experience, the Ninja Stik (available here) offers great features that complement the boot-from-USB process and allow you to fix or recover Windows systems more efficiently.
Booting a Windows system from a USB for recovery is a straightforward process once you have the right tools and know the steps. By following the detailed instructions above, you can easily restore your system or fix issues without the need for professional assistance. To get started and explore the tools that make recovery even easier, check out the Ninja Stik for more information and to purchase your own recovery solution today!