How to Create and Use a Bootable USB for MacBook Air
- Why Use a Bootable USB for MacBook Air?
- Preparing Your USB Drive for Booting
- Creating the Bootable USB Drive
- How to Boot Your MacBook Air from USB
- Troubleshooting Bootable USB Issues
Why Use a Bootable USB for MacBook Air?
Creating a bootable USB drive for your MacBook Air can be a lifesaver in many situations. Whether you're looking to reinstall macOS, troubleshoot system issues, or create a fresh installation of macOS, having a bootable USB drive gives you the flexibility and control you need. It’s especially useful when your MacBook Air is not booting up correctly, or you need to perform a clean installation.
In addition, a bootable USB drive is portable and can be used on multiple Macs, making it a handy tool for IT professionals, Mac enthusiasts, and anyone who wants to ensure their MacBook Air is running smoothly. Let’s dive into the steps involved in creating and using a bootable USB for your MacBook Air.
Preparing Your USB Drive for Booting
Before you start creating the bootable USB drive, it’s important to make sure you have the right tools and prepare your USB drive properly:
1. Choose the Right USB Drive
The USB drive should be at least 16GB in size. While smaller drives may work, macOS installations typically require this amount of space. You can use any standard USB 3.0 or USB 2.0 drive, but using a USB 3.0 drive will give you faster installation speeds.
2. Backup Your Data
Creating a bootable USB will erase all data on the drive, so make sure to back up any important files before you begin. Once the drive is wiped clean, it will be formatted to work as a bootable device.
Creating the Bootable USB Drive
Now that your USB drive is prepared, it’s time to create the bootable USB for your MacBook Air. Follow these steps to get started:
1. Download macOS Installer
First, download the latest version of macOS from the Mac App Store. Open the App Store on your MacBook Air and search for the macOS version you want to install (e.g., macOS Ventura). Click the "Get" button to start the download process. Once it's finished, the installer will automatically open on your Mac. Close the installer for now, but keep it in your Applications folder.
2. Format the USB Drive
Next, you need to format the USB drive using Disk Utility. Here’s how:
- Open Disk Utility (Applications > Utilities > Disk Utility).
- Select your USB drive from the list on the left.
- Click “Erase” and choose “Mac OS Extended (Journaled)” as the format, and "GUID Partition Map" as the scheme.
- Click "Erase" to format the drive.
3. Use Terminal to Create the Bootable USB
Now it’s time to use Terminal to copy the macOS installer to the USB drive and make it bootable. Open Terminal (Applications > Utilities > Terminal) and type the following command:
sudo /Applications/Install macOS [version].app/Contents/Resources/createinstallmedia --volume /Volumes/[USB-name]
Replace [version] with the version of macOS you downloaded (e.g., “Ventura”), and [USB-name] with the name of your USB drive. Press Enter, and when prompted, enter your administrator password.
Terminal will then begin the process of copying macOS to the USB drive, which can take several minutes. Once it’s done, your USB drive will be ready for use as a bootable macOS installer.
How to Boot Your MacBook Air from USB
Once you’ve created the bootable USB, it’s time to boot your MacBook Air from the USB drive. Here’s how:
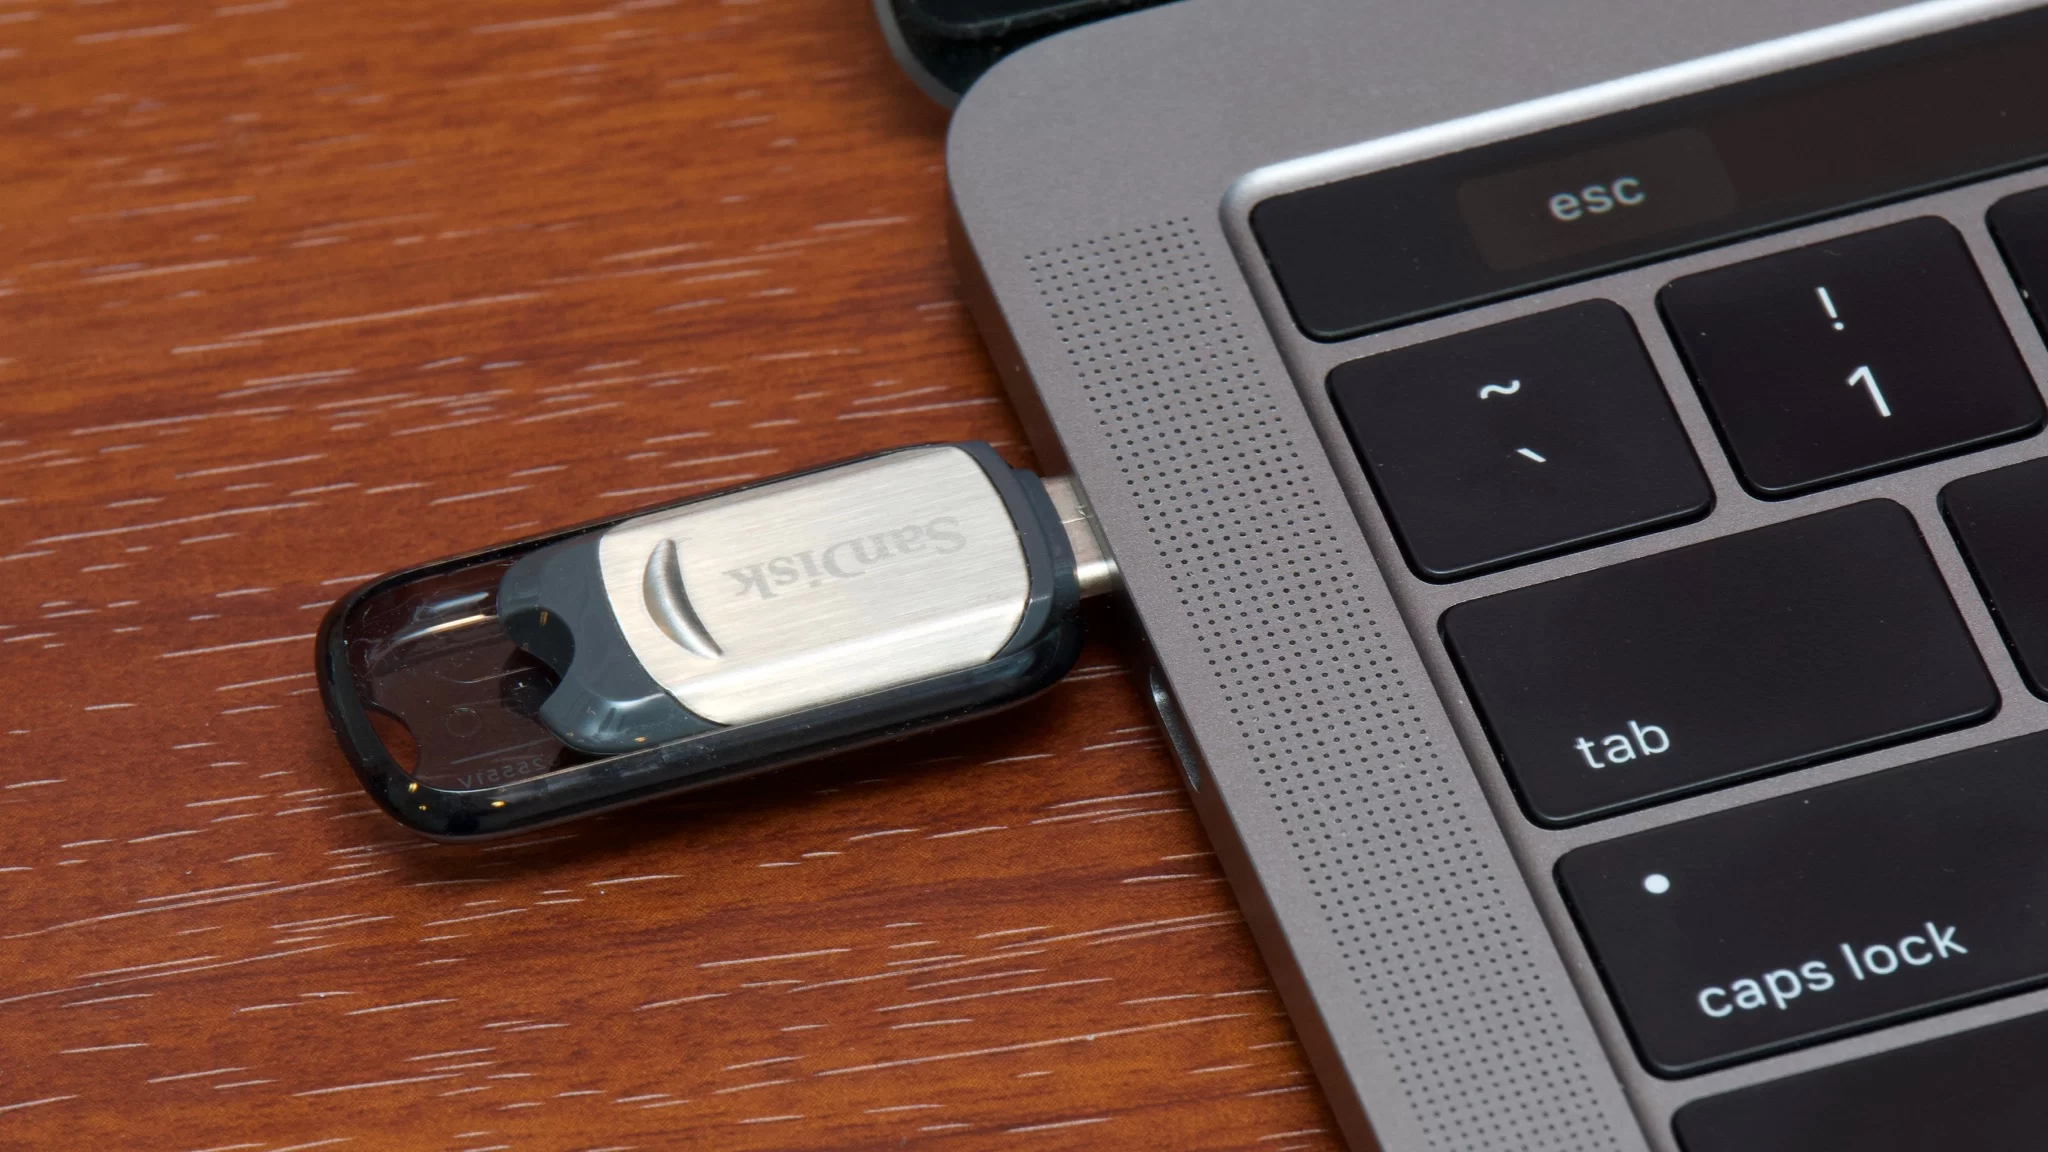
1. Insert the Bootable USB
Insert the bootable USB drive into your MacBook Air’s USB port. If you have a newer MacBook Air with only USB-C ports, you may need an adapter to connect the USB drive.
2. Restart Your MacBook Air
Restart your MacBook Air, and immediately press and hold the Option (⌥) key on the keyboard while the Mac reboots.
3. Select the Bootable USB Drive
After a few moments, you should see a boot menu. Use the arrow keys to select the USB drive, and then press Enter. Your MacBook Air will begin booting from the USB drive, and you’ll be able to install macOS or use other utilities depending on the drive’s contents.
Troubleshooting Bootable USB Issues
If you're having trouble booting from the USB drive, here are a few common issues and solutions:
1. USB Drive Not Showing Up in Boot Menu
If your USB drive doesn’t appear in the boot menu, make sure it is properly formatted as a bootable drive. Double-check that you followed the steps for creating the bootable USB correctly.
2. Error Messages During Installation
Sometimes, errors can occur during installation. This can happen if the macOS installer is corrupted or if there’s an issue with the USB drive. Try downloading the macOS installer again and creating a new bootable USB drive.
3. USB Drive Is Not Recognized
If your MacBook Air doesn’t recognize the USB drive, try a different port or a different USB drive. It’s also a good idea to ensure that the USB drive is working properly on other devices.
Once you’ve successfully created your bootable USB and learned how to boot your MacBook Air from it, you’ll be ready to reinstall macOS or perform other tasks that require booting from an external drive. For a reliable USB drive for booting and storage needs, check out Ninja Stik for high-quality, fast USB drives that work seamlessly with your MacBook Air.